
Faux fur is a popular choice for all sorts of sewing projects, from clothes and accessories to soft furnishings. It makes whatever you’re making soft to the touch and gives it a plush finish. This guide explains how to sew faux fur step by step, so you get a neat result.
Why sew with faux fur?
Faux fur has several advantages:
- Looks: it gives your makes a soft, plush, cosy look.
- Choice: it comes in a wide range of colours, textures and pile lengths.
- No animal-derived materials: you can make things that look like real fur without using any animal.
- Easy care: it’s usually machine washable, unlike real fur.
What you need to sew faux fur
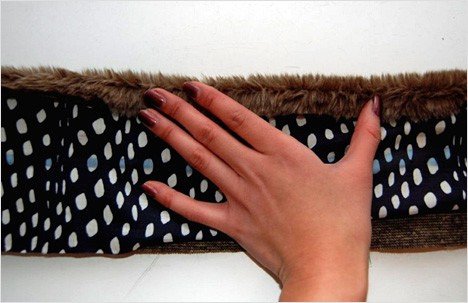
To sew faux fur, you’ll need:
- Faux fur: choose a good-quality faux fur that suits your project.
- Sewing machine: you’ll need a sturdy machine, especially if the faux fur is thick.
- Needles: use needles designed for heavy fabrics.
- Thread: pick a good-quality thread that matches the colour of your faux fur.
- Scissors: you need sharp scissors to cut faux fur without damaging it.
How to choose the right faux fur for your project
The right faux fur depends on what you’re making. A few things to consider:
- Pile length: a long pile looks plusher on a coat, while a shorter pile suits a soft toy better.
- Colour: choose a colour that suits your project. Faux fur comes in a huge range of shades, from natural tones to bright fantasy colours.
- Quality: good-quality faux fur is easier to sew and gives a better finish.
Preparing faux fur before you sew
Before you start sewing, take the time to prepare the fabric properly. Here’s what to do:
- Washing: wash your faux fur according to the manufacturer’s instructions so it doesn’t shrink once it’s sewn.
- Marking: mark the cutting lines on the back of the faux fur with a fabric marking pencil.
- Cutting: cut along the lines. Make sure you only cut through the backing, not the pile.
Sewing faux fur step by step
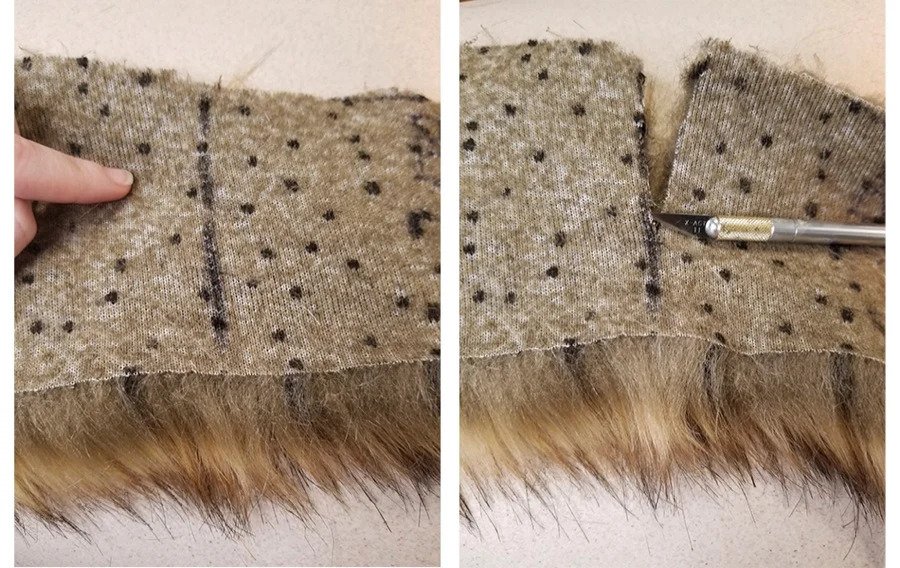
Once your faux fur is ready, you can start sewing. Follow these steps:
- Joining the pieces: put your project together following the pattern. Make sure the pile on every piece runs in the same direction.
- Choosing the stitch: use a straight stitch or a zigzag stitch. Zigzag works especially well on long-pile faux fur because it hides the seams.
- Hemming: fold the edge of the faux fur to the inside and machine stitch it.
- Cleaning the machine: once you’ve finished, clean your sewing machine to get rid of any loose fibres.
How to clean your sewing machine after sewing faux fur
Faux fur can leave a lot of fluff inside your sewing machine, so clean it every time you use it. Here’s how:
- Take out the needle and bobbin: this makes it easier to get to the inside of the machine.
- Use a soft brush: brush the faux fur fibres out of the machine.
- Clean the bobbin area: fluff tends to build up here, so clean it thoroughly.
- Put the machine back together: once it’s clean, reassemble the machine.
Faux fur project ideas
Faux fur works for all kinds of projects. A few ideas to get you started:
- Clothes: coats, jackets, scarves, bucket hats… Faux fur works well for warm, comfortable clothes.
- Accessories: bags, clutch bags, hats… Faux fur gives any accessory a soft, plush finish.
- Home: cushions, throws, rugs… Faux fur makes cosy, welcoming things for the home.
Conclusion
Sewing faux fur can feel daunting at first, but with the right tools and techniques it’s very doable. We hope this guide helps you get started on your own faux fur sewing projects.


